Contents
Ultimate Guide to Welding Tool Steel
- John
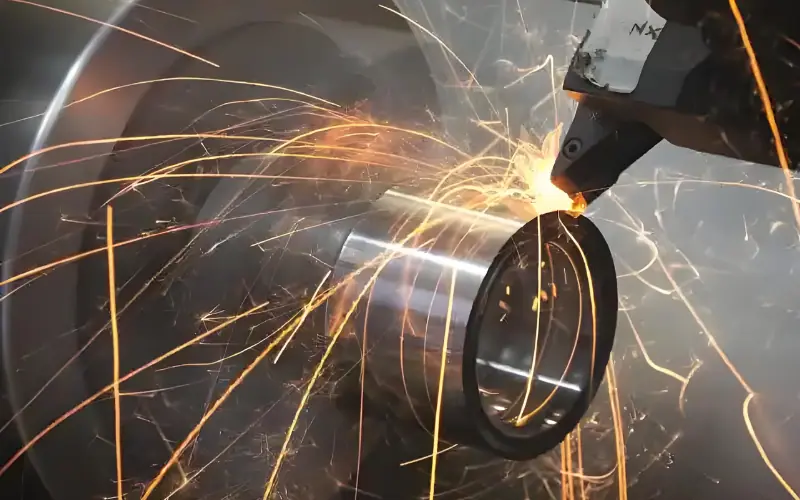
Tool steel is made to be very strong and durable, which makes welding it more challenging than other metals. Its high carbon and alloy content can cause cracks or weaken the material if not welded properly.
At SteelPro Group, our steel experts provide specialized advice to help you weld tool steel successfully. We will offer the guidance you need to achieve strong and reliable results, whether you’re experienced or just starting.
Challenges of Welding Tool Steel
Cracking Due to High Carbon Content
Tool steels have high carbon levels, enhancing hardness and wear resistance but increasing the risk of cracking during welding. Rapid cooling can form brittle structures, making cracks more likely.
Distortion from Heat Input
High heat input during welding can cause tool steel to distort. Uneven heating and cooling lead to thermal expansion and contraction, resulting in warping or misalignment. Managing heat input with proper welding parameters and techniques like backstepping or clamping helps minimize distortion.
Hardness Loss in the Heat-Affected Zone (HAZ)
The heat-affected zone (HAZ) around the weld can lose hardness, reducing wear resistance and performance. Excessive heat alters the microstructure, compromising the tool’s properties.
How to Weld Tool Steel?
Pre-Welding Preparation
- Cleaning and Removing Contaminants
Before welding, it is imperative to thoroughly clean the tool steel to eliminate any dirt, grease, oil, or rust. Utilize wire brushes, solvents, or abrasive blasting to achieve a contaminant-free surface. Clean surfaces prevent defects such as porosity and ensure strong, reliable welds.
- Preheating to Reduce Thermal Stress
Preheating the tool steel is a critical step to minimize thermal stresses and prevent cracking. Gradually heat the material to a temperature range typically between 250°C to 538°C (400°F to 1000°F), depending on the specific grade of tool steel. Uniform preheating reduces temperature gradients during welding, thereby decreasing the likelihood of distortion and cracking.
Choosing the Right Welding Method
TIG Welding
- Pros: Provides high precision and control, resulting in clean and strong welds. Ideal for thin sections and detailed work.
- Cons: Slower process and requires higher skill levels. Not ideal for thicker materials.
MIG Welding
- Pros: Faster welding speed and easier to learn. Suitable for various thicknesses and produces consistent welds.
- Cons: Less control over weld quality compared to TIG. Potential for more spatter and requires shielding gas.
Stick Welding
- Pros: Versatile and can be used outdoors. Effective for thicker materials and repairs.
- Cons: More spatter and slag removal needed. Lower precision and higher skill required for quality welds.
Choose Filler Metals and Electrodes
Suitable Filler Materials
Use low-hydrogen electrodes or filler metals specifically designed for tool steel. Examples include:
- ER70S-6 (for MIG Welding): Provides good weld strength and ductility.
- E7018 (for Stick Welding): Low-hydrogen electrode that reduces cracking.
- Ni-based Fillers (for TIG Welding): Enhance toughness and reduce brittleness.
Matching Filler Metals to Tool Steel
To maintain the integrity and mechanical properties of the tool steel, it’s essential to match the filler metals to the composition of the base material:
- High-Carbon Tool Steels: Use fillers with similar carbon content to preserve hardness and wear resistance. Low-hydrogen electrodes like E7018 are recommended to minimize cracking.
- High-Alloy Tool Steels: Nickel-based fillers are preferable as they enhance toughness and reduce brittleness, aligning with the properties of high-alloy steels.
- Lower Alloy Tool Steels: While these may soften during welding, selecting appropriate fillers and performing post-weld heat treatments can help restore desired properties.
Practical Tips for Filler Metal Applications
- Layering: Start with soft rods to create a stable base, then switch to hard rods for the final layers. This approach balances flexibility and strength.
- Minimize Layers: Avoid excessive layering of hard rods to prevent the weld from becoming too brittle, which can lead to cracking.
- Consult Suppliers: SteelPro Group can recommend specific electrodes or welding wires tailored to the particular grade of tool steel you are working with.
Post-Weld Heat Treatment
Stress Relieving
After welding, perform stress relieving to reduce residual stresses caused by the welding process. Heat the welded tool steel to a specific temperature below its critical point and hold it to allow stress redistribution.
Tempering to Restore Hardness and Toughness
Temper the welded tool steel to restore its hardness and toughness. This involves reheating the material to a tempering temperature, typically between 150°C to 650°C (300°F to 1200°F), and then cooling it. Proper tempering ensures the welded area regains its mechanical properties, enhancing durability and performance.
Additional Tips for Successful Welding of Tool Steel
Proper Clamping and Holding
Ensure that the tool steel parts are held securely and squarely during welding to prevent misalignment and distortion.
Bevel Preparation
Prepare bevels with an appropriate depth (typically about one-third of the material thickness) and a minimum angle of 45 degrees to ensure adequate weld penetration and seam quality.
Controlled Cooling
After welding, allow the tool steel to cool slowly to room temperature. Rapid cooling can exacerbate hardening and increase the risk of cracking.
Inspection and Grinding
Inspect the weld area for any cracks or defects. Grind away any imperfections before performing post-weld heat treatments.
Explore Our Tool Steel Products
Contact SteelPro Group today for expert advice and access to our wide range of high-quality tool steel products tailored to your needs. Whether you’re working with D2 cold work steel or H13 hot work steel, our specialists are here to help you select the perfect material for your application.


